
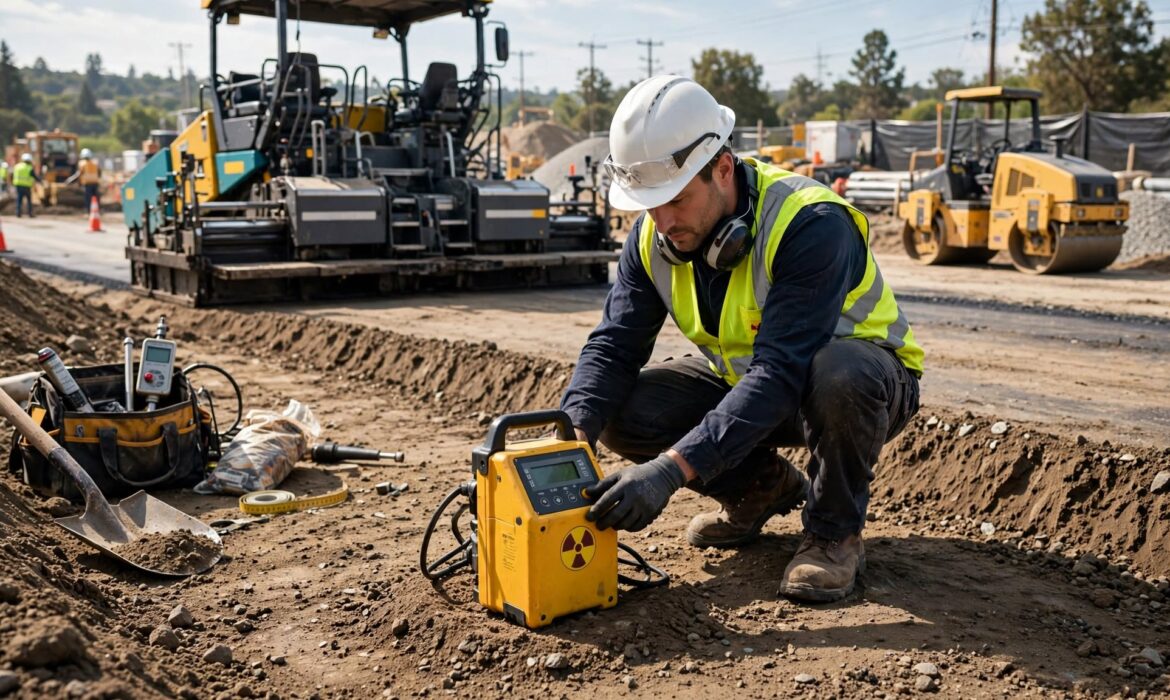
Compaction Density Testing tells the truth about soil. The eye cannot see density. A hard crust often sits over loose material. Traffic breaks the crust.
Without proper Compaction Density Testing, the loose soil shifts. Cracks open in the pavement above. The repair bill follows. Density testing measures how much solid material fills a given space. Strong soil holds more solid material. Weak soil holds less. Weak soil moves under load. Testing finds weak soil before the paving crew arrives.
Seven steps follow. Each step supports the next. Each step lowers the risk of failure in Compaction Density Testing.
☰ Table of Contents
- 1. Set the Target Density Before Testing Begins
- 2. Choose the Right Testing Method
- 3. Prepare the Test Location Correctly
- 4. Run Tests at the Right Frequency
- 5. Compare Results to the Target
- 6. Rework Every Failing Area
- 7. Document and Report Every Test
- The Cost of Skipping Testing
- Density Testing Schedules
- Common Mistakes & Crew Training
Set the Target Density Before Testing Begins
A test needs a number to compare against. Compaction Density Testing begins with a written target. The project engineer sets this number. Most specifications call for 95 percent of maximum dry density. Some call for 98 percent. Some call for 92 percent. Soil type and traffic load decide the figure.
The laboratory supplies maximum dry density for accurate Compaction Density Testing. Lab technicians compact samples at several moisture levels. The highest result becomes the reference. Field readings are measured against it.
Write the target on the test form. Write the target on the site plan. Tell every operator the number. A crew with a target works toward it. A crew without a target works blind. No target means no standard. No standard means no quality.
Choose the Right Testing Method
Four methods dominate field work. Each has a place. Compaction Density Testing depends on picking the right one.
The sand cone test digs a small hole. The removed soil is weighed. Calibrated sand fills the hole. Sand volume equals hole volume. Density comes from weight divided by volume. Results are accurate. The test takes 20 to 30 minutes, a standard in Compaction Density Testing.
The nuclear gauge sends radiation into the soil. A sensor reads density and moisture in seconds. The gauge needs calibration. The operator needs a license. Safety rules apply. The rubber balloon test pushes a water filled balloon into a hole. Water volume shows hole volume. It suits fine soil. Coarse gravel causes trouble.
The Clegg hammer drops a weight onto the surface. Impact measures stiffness. The result is an index. It screens soil fast. It does not give true density. Match the method to the specification. Match the method to the soil. Match the method to the time available.
Prepare the Test Location Correctly
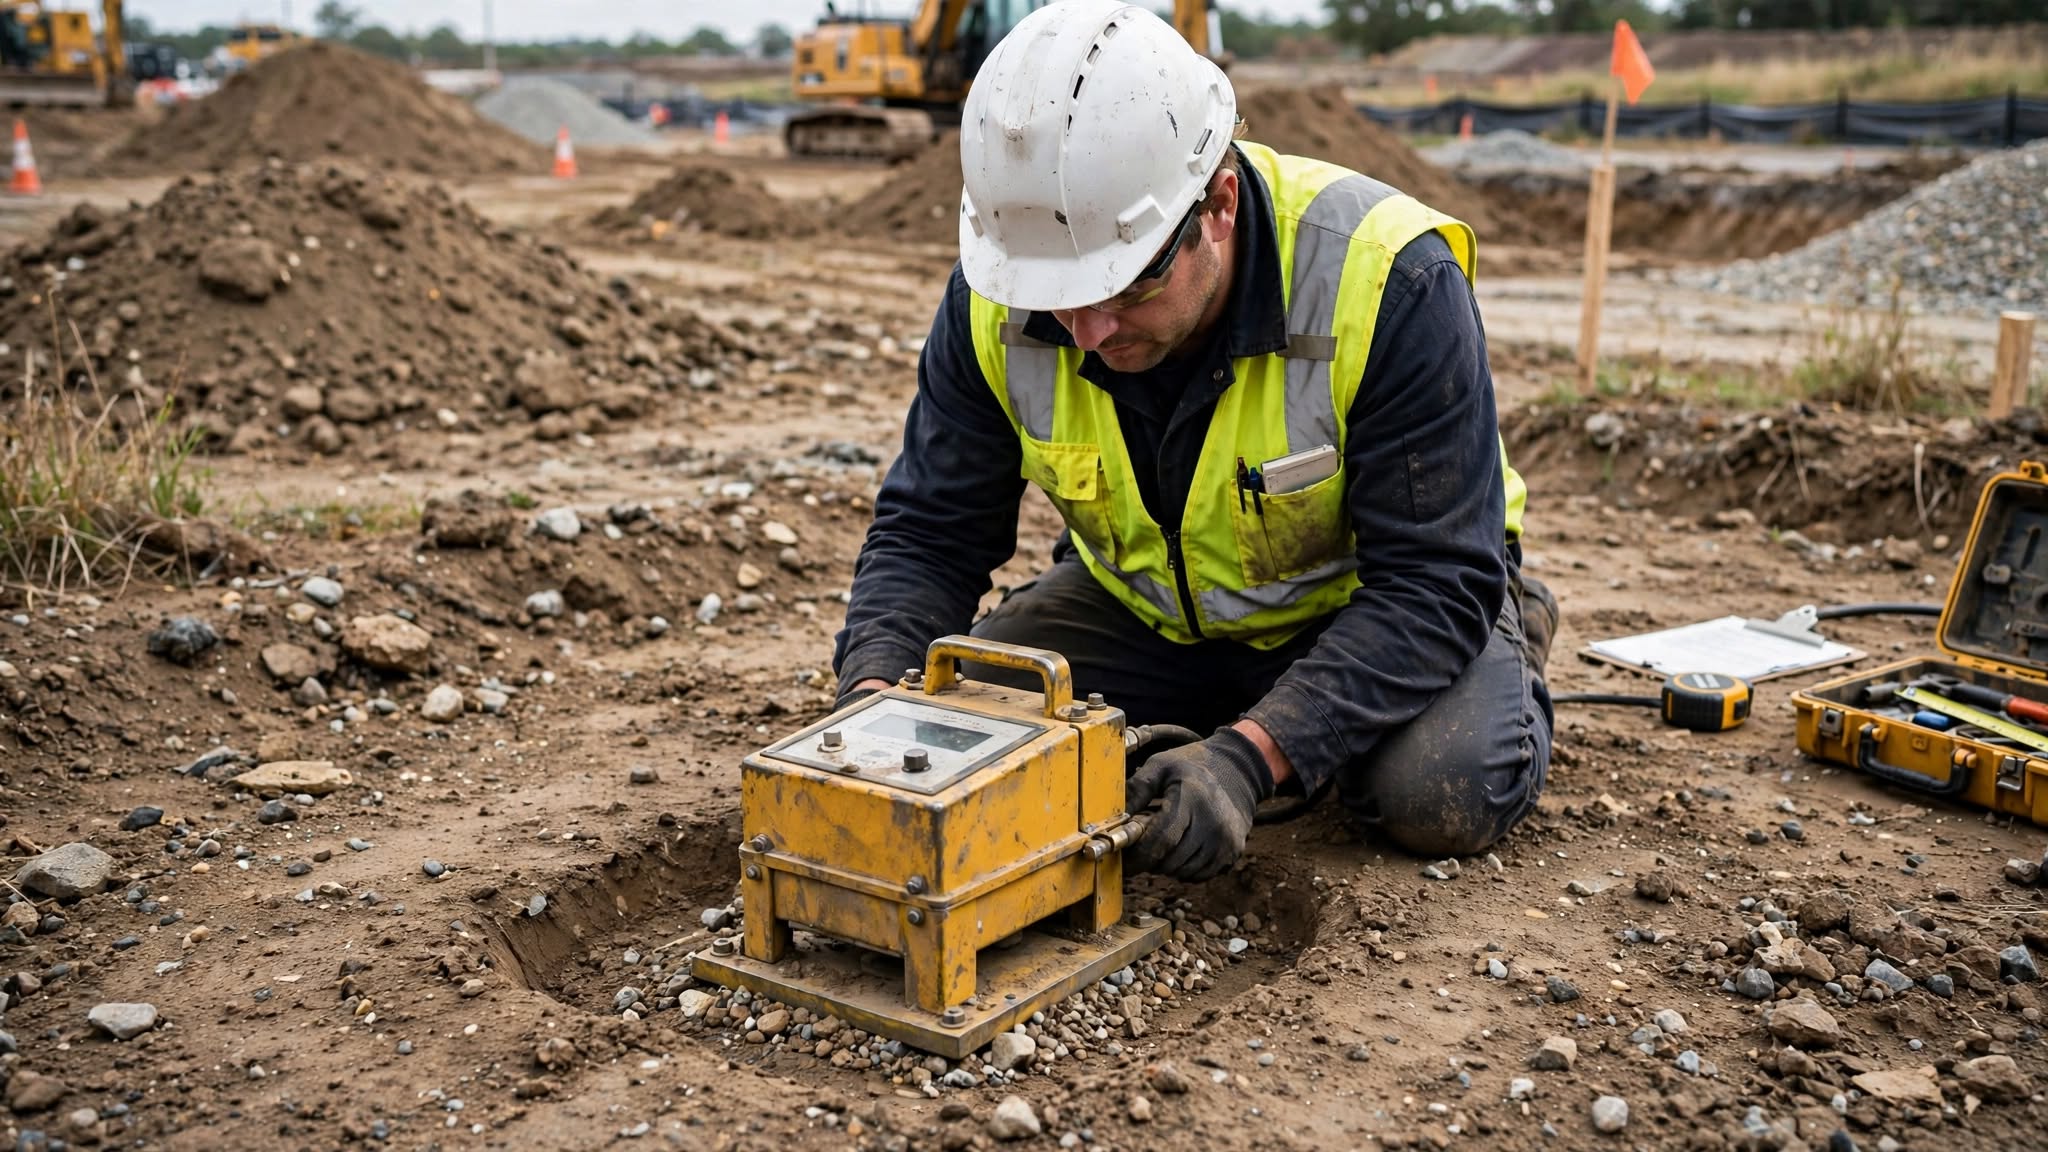
A bad location produces a bad reading. A bad reading produces a bad decision. Compaction Density Testing needs a clean spot. Scrape loose material away. Loose material does not represent the compacted layer. Expose the soil below.
Level the surface. Slopes cause errors with the nuclear gauge. Flat ground gives honest numbers. Mark the spot. Note it on the site plan. Photograph it. The mark allows a repeat test at the same place. Stay away from edges. Edge density differs from center density. Test the middle of the layer. Test several spots across the width. A careless spot gives a careless result in Compaction Density Testing.
Run Tests at the Right Frequency
Too few tests miss weak zones. Too many tests burn time. Compaction Density Testing needs balance. Common practice calls for one test per 500 square feet. Some specifications demand one per 250 square feet. Some demand one per lift per 1,000 square feet. Read the specification.
Test every lift. A bottom layer does not prove a top layer. Each layer stands alone. Pick spots at random. Do not test only the good looking areas. Do not let the operator choose. Random selection exposes weak zones. Random selection keeps the Compaction Density Testing work honest.
Test after the minimum passes. Early tests read low. Early tests waste effort. The specification sets the minimum frequency. Go above it when soil varies.
Compare Results to the Target
A number alone says nothing. A number beside the target says everything. Compaction Density Testing lives on comparison. Write down the field density. Write down the target density. Work out the percentage. Field density at 95 percent of target passes. Field density at 90 percent fails.
Write down the moisture content. Density depends on moisture. A pass at the wrong moisture may not hold up. Moisture drives long term strength. Color the passing areas green. Color the failing areas red. The map shows weak zones. The map guides rework.
File every record by date and location. Records prove the work happened. Records protect the contractor during Compaction Density Testing. A test without comparison is a stray number. Comparison turns it into a decision.
Rework Every Failing Area
A failed test means the work is incomplete. The area needs more work. Compaction Density Testing demands action. Paint the failing zone. Flag the failing zone. The operator must see it. Check moisture first. Dry soil needs water. Wet soil needs air. Fix moisture before rolling again.
Roll the zone again. Add passes. Use the right machine like the TYPHON Fury 1.5 Ton Roller. Use the right settings. Test again. Keep rolling and testing until the result passes. Do not accept a borderline number. Do not move ahead with a failed test. Pavement above weak soil always fails. Write down the rework. Note the extra passes. Note the new result. The record shows the fix. Testing finds the problem. Rework solves the problem. One without the other means nothing.
Document and Report Every Test
Paper protects people. Paper proves the work met specification. Paper proves the tests happened. Compaction Density Testing depends on records. Note the date. Note the time. Note the location. Note the method. Note field density. Note target density. Note moisture. Note pass or fail.
Photograph the spot. Photograph the gauge. Photograph the site plan with the mark. File photos with the records. Sign the form. Ask the inspector to sign. Ask the client to sign when required. A signed form is proof. An unsigned form is a draft.
Hand over a report at job end. The report lists every test. It lists every pass. It lists every rework. It proves quality. Testing without paperwork wastes effort in Compaction Density Testing. Records turn testing into proof.
The Cost of Skipping Compaction Density Testing
Skipping Compaction Density Testing saves a few hours. It costs far more later. A failed pavement repair runs $5,000 to $20,000. A driveway repair runs $500 to $2,000. A road repair runs $50,000 to $500,000. Crews remove pavement. Crews recompact soil. Crews replace pavement.
Legal costs follow. A client lawsuit runs $10,000 to $100,000. Legal fees. Expert witnesses. Court dates. Lost work days. Reputation takes the hardest hit. A failed job kills future work. Clients talk. Contractors stay away. The business shrinks.
A single test costs $50 to $150. A 10,000 square foot job needs 20 tests. Total cost lands between $1,000 and $3,000. That is a small slice of the repair bill. Testing prevents failure. Failure costs more than testing.
Density Testing Schedules
Daily Compaction Density Testing Schedule:
Before work: Read the specification. Confirm the target. Check the equipment.
During work: Test after minimum passes. Test at random spots. Record every reading. Mark failing zones.
After work: File the records. Report failing zones. Plan the rework.
Weekly Compaction Density Testing Schedule:
Review all records. Check the pass rate. Adjust the compaction plan. Train the crew on weak points.
Monthly Compaction Density Testing Schedule:
Review all job records. Look for repeated problems. Calibrate the equipment. Update the testing plan.
Common Compaction Density Testing Mistakes
- Skipping tests: Without tests, work is a guess. Test every lift.
- Testing too few spots: Few tests miss weak zones. Test at random and at the required frequency.
- Testing only good spots: Biased testing hides trouble. Random testing finds trouble.
- Testing too early: Early tests read low. Test after minimum passes.
- Ignoring moisture: Density depends on moisture. Record moisture and control it.
- Skipping paperwork: Without records, work has no proof. Document every test.
Training the Crew on Compaction Density Testing
Every operator should know the target density. Every operator should know the test frequency. Every operator should know the method. Every operator should know the rework process.
Train new operators before they start. Just as you would select the best TYPHON skid steer models for site prep, choosing proper training is crucial. Show the equipment. Show the form. Show the site plan. Show the rework steps.
Build testing into the routine. No lift passes without a test. No lift passes without a record. Supervisors spot check. Good work earns praise.
Ensure every inch of your jobsite hits maximum dry density without wasting passes or fuel. Equip your crew with machinery built for precision and power.
View the TYPHON Fury 1.5 Ton Roller