
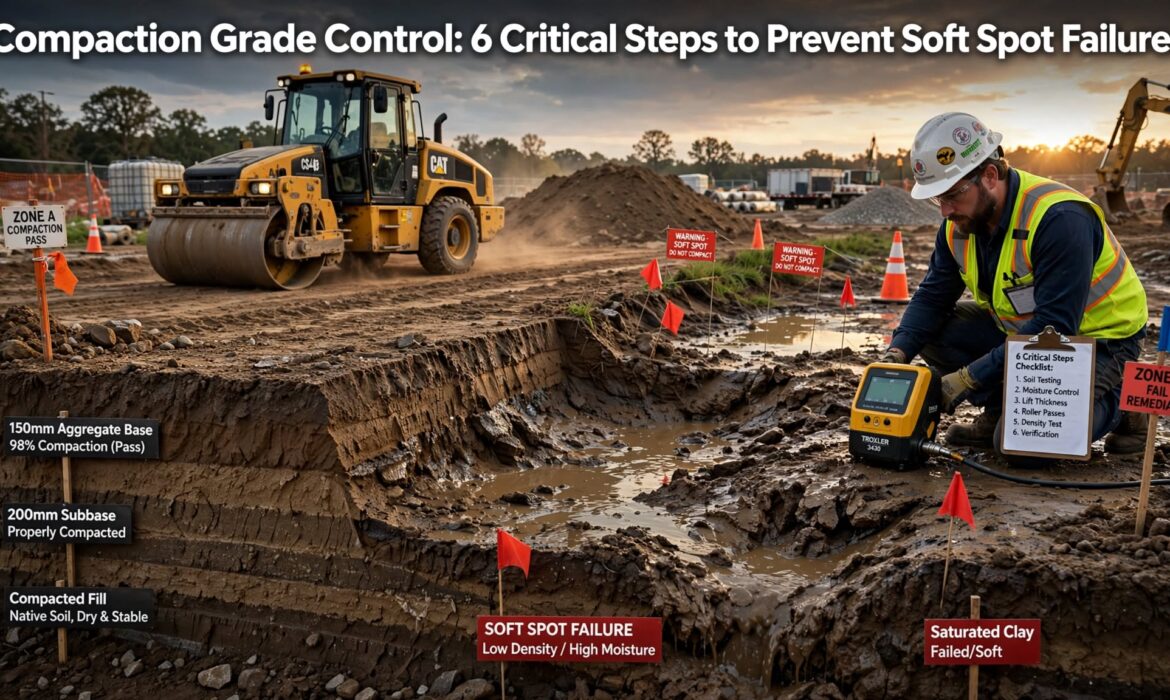
Compaction Grade Control is the process of managing soil density and surface level at the same time. It sounds technical. It is not. It is a simple system. It prevents soft spots. It prevents settlement. It prevents callbacks. It saves money on every job. Effective Compaction Grade Control guarantees your pavement rests on a solid foundation.
A soft spot is a section of soil that did not reach target density. It looks fine on the surface. It hides below. Traffic loads it. Moisture enters it. It settles. The pavement above cracks. The repair bill lands on the contractor. Compaction Grade Control stops this problem before it starts. Similar to utilizing compactor roller drum vibration monitoring, proactive testing saves thousands.
This guide covers 6 critical steps of Compaction Grade Control. Each step builds on the last. Each step takes planning. Each step prevents failure.
☰ Table of Contents
Map the Site Before Work Begins
Every site has different soil. Some areas drain well. Some areas hold water. Some areas have fill. Some areas have native soil. Each area needs different treatment. Compaction Grade Control starts with a map.
Walk the site before any machine arrives. Mark wet spots. Mark soft spots. Mark fill areas. Mark utility trenches. Mark any area that looks different from the rest. Test the soil in each area. A hand probe shows resistance. A penetrometer gives a number. A moisture meter shows water content. Write down the results. Use them to plan the work.
Mark the boundaries on the ground. Use stakes. Use paint. Use flags. The operator needs to see where conditions change. The operator adjusts passes and speed based on the map. Implementing strict Compaction Grade Control ensures no soft spots are missed. Without a site map, the operator guesses. Guessing causes soft spots. A map removes the guesswork. It shows exactly where extra care is needed.
Control Moisture Before Compaction
Moisture is the biggest cause of soft spots. Dry soil does not compact. Wet soil does not compact. Soil needs the right amount of water. This is called optimum moisture content. Every soil type has a different optimum. Compaction Grade Control requires hitting that number.
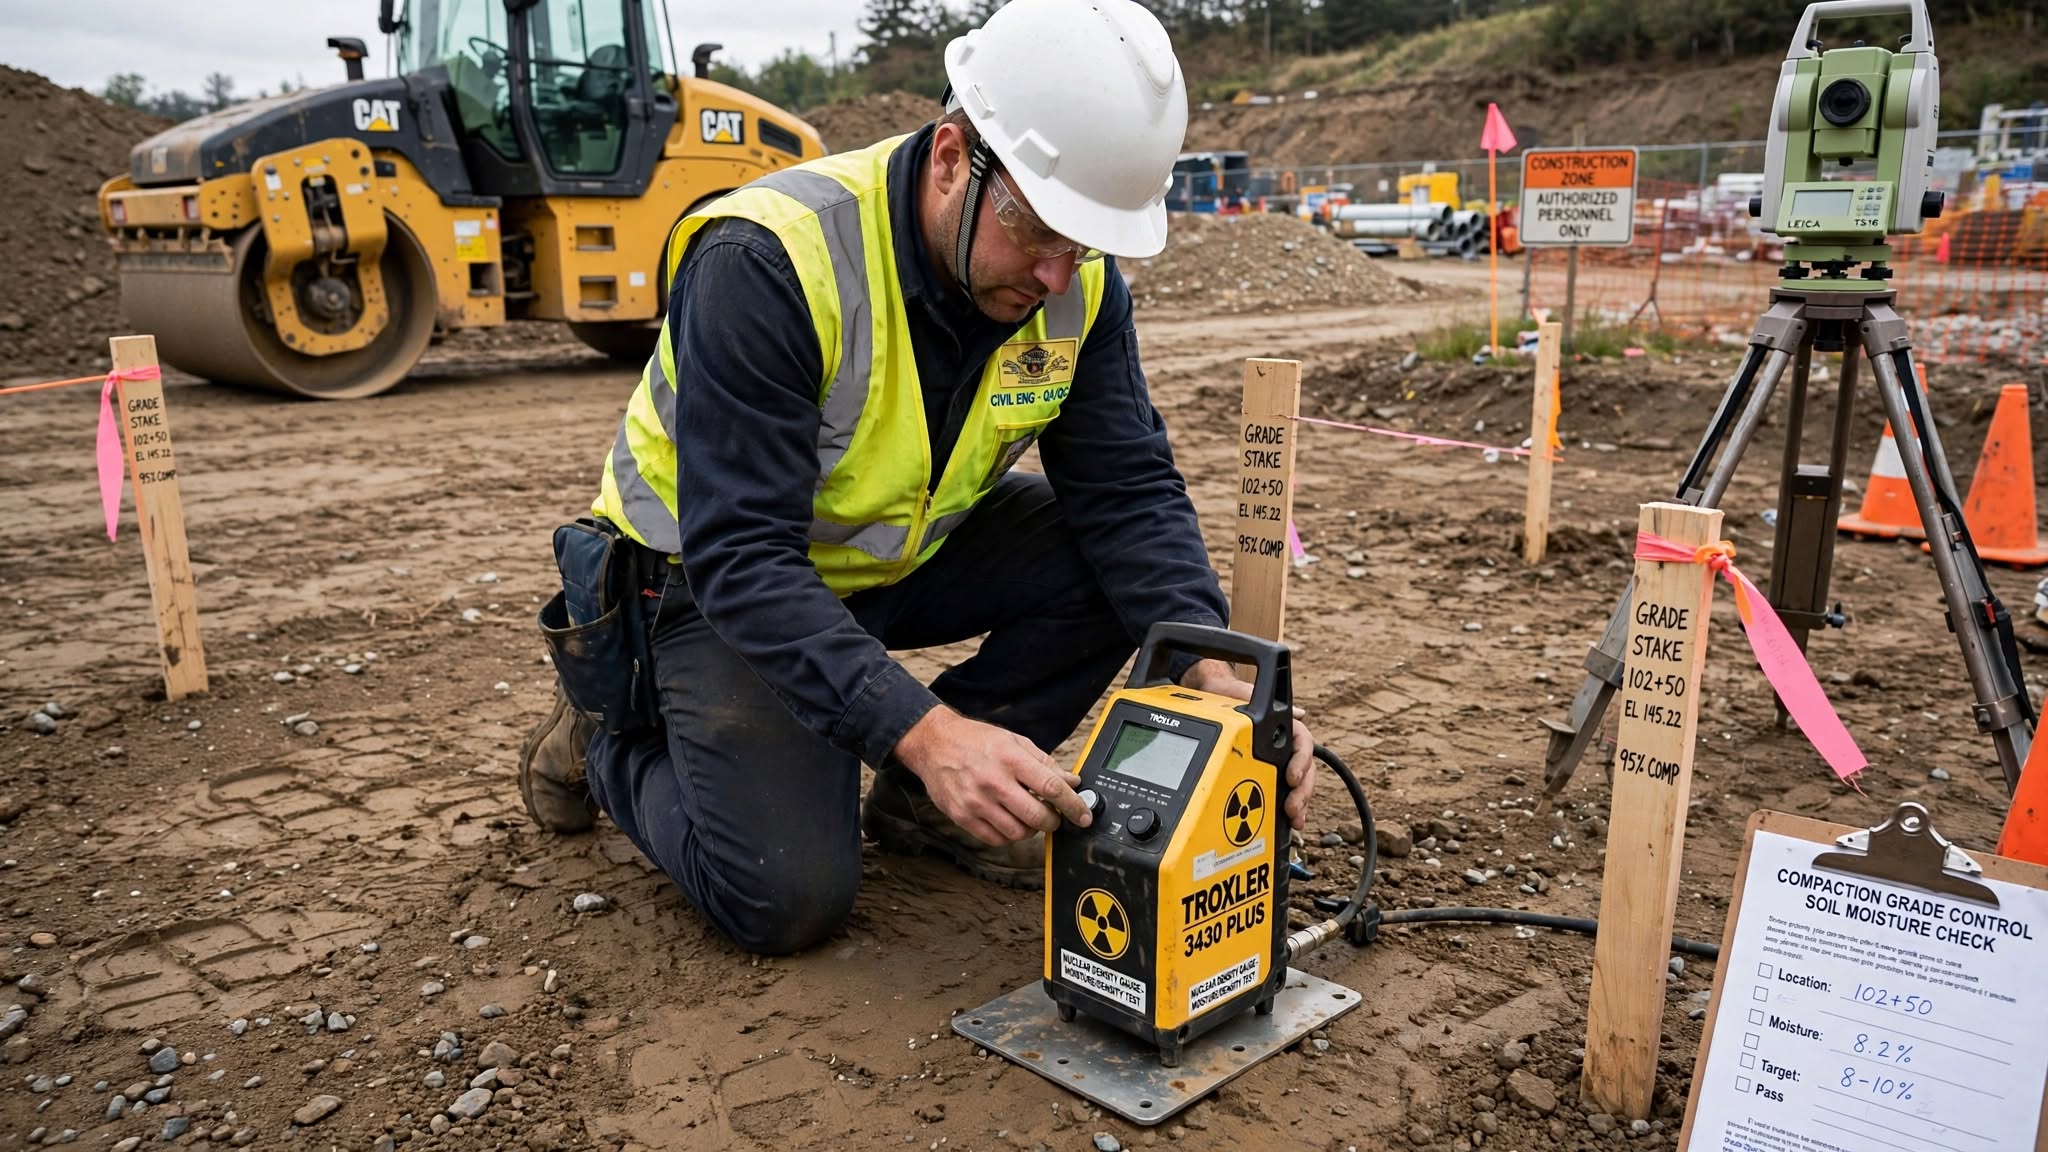
Test moisture before rolling. Use a moisture meter. Use the hand squeeze test. Grab a handful of soil. Squeeze it. It should hold together without dripping water. It should crumble when poked. If it drips, it is too wet. If it crumbles, it is too dry. Proper Compaction Grade Control guarantees moisture is evenly distributed. Add water if too dry. Use a water truck. Use a hose. Mix the water into the soil. Do not just spray the surface. The moisture needs to reach the full depth.
Let the soil dry if too wet. Disc it. Aerate it. Wait for the sun and wind. Do not roll wet soil. Rolling wet soil creates a soft spot. The surface looks compacted. The inside stays loose. Moisture control takes time. It prevents rework. It prevents callbacks. Compaction Grade Control depends on moisture control.
Select the Right Roller for the Soil
Not every roller works on every soil. A smooth drum roller works on granular soil. Sand. Gravel. Crushed stone. A padfoot roller works on cohesive soil. Clay. Silt. A single drum roller works on both with the right drum. Compaction Grade Control requires matching the machine to the ground.
Check the soil type from the site map. Choose the roller with the right drum. A smooth drum on clay leaves a sealed surface. The surface looks hard. The inside stays soft. A padfoot drum on sand does nothing. The feet sink without compacting. Check the roller weight. Heavier rollers compact deeper. Lighter rollers compact shallow. For thick lifts, use a heavier roller. For thin lifts, a lighter roller works.
Check the vibration settings. High amplitude works for deep lifts. Low amplitude works for thin lifts. High frequency works for fast passes. Low frequency works for slow passes. Set the machine for the job. The wrong roller wastes time. It wastes fuel. It leaves soft spots. The right roller gets density in fewer passes. Compaction Grade Control starts with machine selection.
Control Lift Thickness
Lift thickness is how deep each layer goes. Thick lifts save time. Thin lifts guarantee density. There is a balance. Compaction Grade Control requires the right balance.
Follow the roller manufacturer recommendation. Most rollers compact 8 to 12 inches per lift. Some compact 6 inches. Some compact 18 inches. Check the manual. Do not guess. Mastering Compaction Grade Control means adhering to manufacturer specs. Thick lifts hide soft spots. The top compacts. The bottom stays loose. The soft spot grows over time. Thin lifts cost more time. Thin lifts guarantee density from top to bottom.
Use a grade stake to check lift thickness. Mark the target height. Fill to the mark. Compact to the mark. Repeat for the next lift. This simple method prevents thick lift mistakes. Lift thickness affects density. It affects settlement. It affects the life of the pavement. Compaction Grade Control requires discipline on lift thickness.
Count Passes and Monitor Density
Every roller needs a set number of passes. One pass is never enough. Four passes is standard. Six passes is common. The number depends on the soil and the roller. Compaction Grade Control requires counting passes.
Mark the starting point. Roll the first pass. Return to the start. Roll the second pass. Count each pass. Do not lose count. Do not guess. Use a clicker. Use a notebook. Use a phone. Your overall Compaction Grade Control strategy relies heavily on pass tracking.
Test density as you work. Use a nuclear gauge. Use a sand cone. Test after every 2 passes. The reading shows if density is rising. If density stops rising, stop rolling. Extra passes waste fuel and time. Map the density readings. Mark the low spots. Roll those spots again. Test again. Repeat until density passes. This process prevents soft spots. Compaction Grade Control is a loop. Roll. Test. Roll again. Pass counting separates professional work from amateur work. It prevents soft spots. It proves the work is correct.
Document Every Step
Documentation protects the contractor. It proves the work met specification. It proves the density passed. It proves the grade is correct. Compaction Grade Control requires records.
Record the site map. Record the moisture readings. Record the roller type and settings. Record the lift thickness. Record the pass count. Record the density readings. Take photos. Take a photo of the site before work. Take a photo of each lift. Take a photo of the final grade. Take a photo of the density test. Store the photos with the records.
Give a copy to the client. Keep a copy for the file. If a problem appears later, the records show the work was correct. The problem lies elsewhere. Documentation ends arguments. Without records, the contractor has no proof. With records, the contractor has full protection. Compaction Grade Control includes documentation.
The Cost of Soft Spot Failures
A soft spot failure costs more than the repair. It costs reputation. It costs future work. It costs legal fees. Ignoring Compaction Grade Control leads directly to these massive repair bills.
A small soft spot repair costs $500 to $2,000. A large soft spot repair costs $5,000 to $20,000. The pavement above must be removed. The soil must be recompacted. The pavement must be replaced. Downtime costs more. The crew waits. The equipment sits. The client calls. The schedule slips.
Compaction Grade Control costs planning time. It costs testing time. It costs documentation time. It prevents these costs. The math is clear.
Grade Control Schedules
To master Compaction Grade Control, follow these daily, weekly, and monthly routines.
Daily Grade Control Schedule
Before work: Review the site map. Test moisture. Check the roller settings. Check the lift thickness.
During work: Count passes. Test density every 2 passes. Mark low spots. Roll low spots again.
After work: Record all data. Take photos. Store records. Plan the next lift.
Weekly Grade Control Schedule
Review all records. Check for patterns. Adjust the plan if needed. Train the crew on any gaps.
Monthly Grade Control Schedule
Review all job records. Check for repeated problems. Update the site map template. Update the testing schedule.
Common Mistakes & Training the Crew
- Skipping the site map: Without a map, the operator guesses. Guessing causes soft spots.
- Ignoring moisture: Dry soil and wet soil both fail. Test moisture every day.
- Using the wrong roller: A smooth drum on clay fails. A padfoot on sand fails. Match the machine to the soil.
- Rolling thick lifts: Thick lifts hide soft spots. Use thin lifts.
- Skipping density tests: Without tests, the work is a guess. Test every 2 passes.
- Skipping documentation: Without records, the contractor cannot prove the work. Document every step.
Every operator should know the site map. Every operator should know the moisture target. Every operator should know the pass count. Every operator should know the density target.
Train new operators before they run the roller. Show them the map. Show them the moisture meter. Show them the density gauge. Show them the record sheet. Make grade control part of the job. No lift passes without a density test. No lift passes without a record. Supervisors should spot check. Praise operators who follow the process. A successful Compaction Grade Control program requires a fully trained crew.
Stop paying for costly rework and soft spot failures. Get the right equipment built to hit density targets easily and keep your jobsite moving forward.
View the TYPHON Fury 1 Ton Roller